A data class is a class containing data only, from Python3.7 we can define a data class with the help of decorator @dataclass, which build the class with the basic functionality like __init__ , __repr__, __eq__ and more special methods.
Let see how to define your data class with the decorator @dataclass
from dataclasses import dataclass

@dataclass
class Batch:
    sku: int
    name: str
    qty: int

>>> Batch(1, 'desk', 100)
Batch(sku=1, name='desk', qty=100)
We can also add the default value to the data class, which works exactly as if we do in the __init__ method of regular class. As you have noticed in the above we have defined the fields with type hints, which is kind of mandatory thing in the data class, if you do not do it will not take the field in your data class.
@dataclass
class Batch:
    sku: int = 1
    name: str = 'desk'
    qty: int = 100

# if you don't want to explicity type the fields you can use any
from typing import Any
class AnyBatch:
    sku: Any
    name: Any = 'desk'
    qty: Any = 100
If you want to define mutable default value in data class, it can be done with the help of default_factory and field. Field() is used to customize each field in data class, different parameter that can be passed to field are default_factory, compare, hash, init, you can check about them over here
from dataclasses import dataclass, field
from typing import List

@dataclass()
class Batch:
    sku: int
    name: str
    qty: int = 0
    creator: List[str] = field(default_factory=<function/mutable value>)
Immutable Data Class
we can also define our data class as immutable by setting frozen=True, which basically means we cannot assign value to the fields after creation
@dataclass(frozen=True)
class Batch:
    sku: int
    name: str
    qty: int = 0

>>> b = Batch(12, 'desk', 100)
>>> b.qty
100
>>> b.qty = 90
dataclasses.FrozenInstanceError: cannot assign to field 'qty'
Data class saves us from writing boilerplate code, help us to focus on logic, this new feature of Python3.7 is great, so what waiting for go and right some data classes.
Cheers!
#100DaysToOffload
#Python
#DataClass
#TIL
#DGPLUG

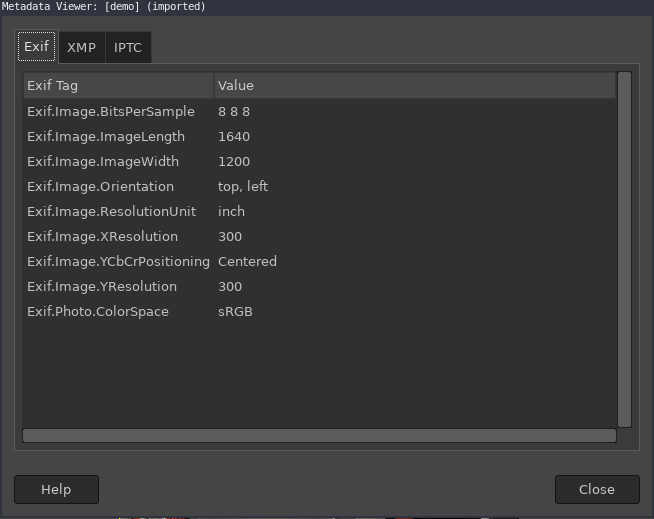 Image metadata from GIMP tool
 Above image is taken from this
  Image with different rotation